
How to export a heightmap for game engines
Loremapper stores real elevations, so a world you generate or sculpt can become terrain in a game engine or a 3D scene. This guide covers the export and what to set when you import it.
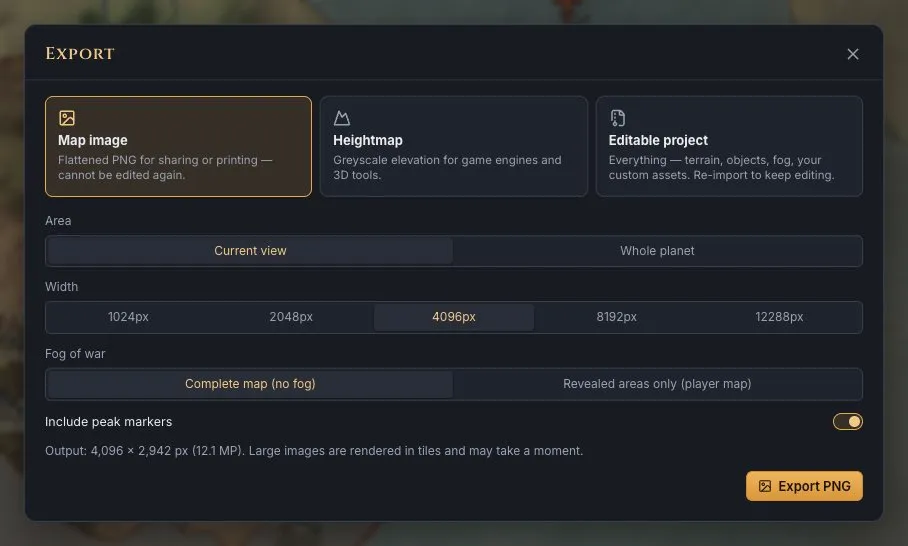
Steps
- Make or generate the terrain. Generate a world or sculpt one in the editor. Every point has a real elevation in metres, so the heightmap is real data, not a picture of shading.
- Open Export → Heightmap. Press Export in the top bar and choose Heightmap.
- Choose 16-bit. Pick 16-bit (recommended): 65,536 height steps instead of 256, so slopes have no terraces. 8-bit is for tools that cannot read 16-bit images.
- Choose the width. Pick 1024, 2048 px or the map's full width. A flat map is exported top-down at one scale everywhere; a planet as an equirectangular image.
- Export and note the height range. Press Export heightmap. Black is the lowest height and white the highest; the range in metres is in the file name (for example …-heightmap-16bit_-11000m_to_10000m.png) and in the PNG's metadata. Heights are linear in between.
- Import it into your engine or 3D tool. Bring the greyscale PNG into the engine's terrain importer and set the vertical scale so the full range of the image spans the range in the file name.
Notes for common tools
Importers change between versions, so check your tool's documentation; these are the usual starting points.
- Unreal Engine: the Landscape importer reads 16-bit greyscale PNG. Set the Z scale so the image's full range matches the metres in the file name.
- Unity: the built-in terrain imports heightmaps as RAW files; convert the PNG to 16-bit RAW in an image editor first, then set the terrain height to the range.
- Godot: terrain add-ons import greyscale heightmap images; set their height scale to the range.
- Blender: use the PNG as the texture of a Displace modifier (or a displacement node) on a subdivided plane and scale it to the range.
The map's real size tells the horizontal scale: a 2,000 km flat map exported 2,048 px wide is about 1 km per pixel. For the colour map on top, export a map image of the same area and width.
Next
Generate a continent to export, or open the editor.